
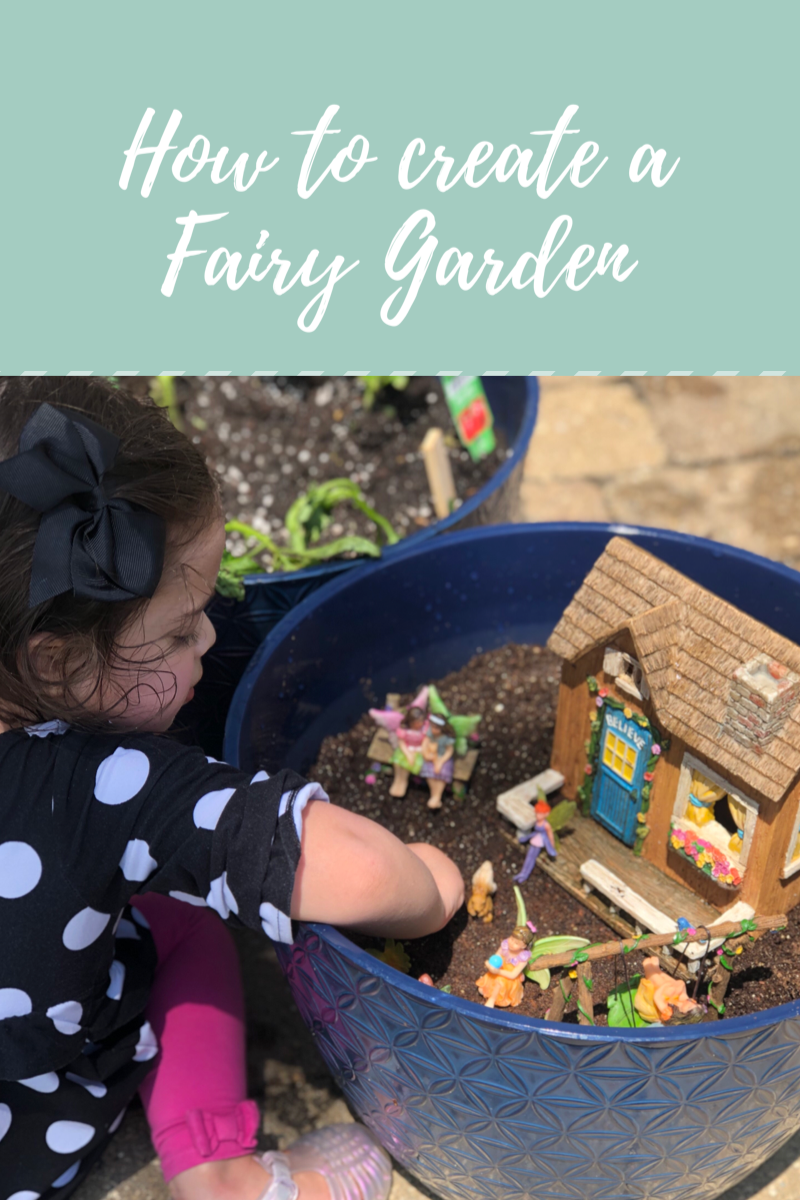

Do your kids love fantasy play, fairies, dressing up and tiny toys like mine do? Well then we have a fun project! We will be discussing how to make a Fairy Garden! It’s a great way to introduce your kids to nature, planting, and creating. Fairy gardens were introduced by our grandma in the corner of her garden. The kids loved coming over to play with the fairies in their little house. They also loved finding things in nature to continue creating the fairies world! So let’s begin!
To start, you have to decide where the fairy garden will go, this is preference and you can decide with your kids. You can use a large pot outdoors, find a hidden corner in the yard or a deep platter in your home. There are tons of options for where the garden can be created! We decided to use large Pots and placed them on our patio in a sunny area to help the plants grow around our fairy land.

To prepare the pots, we got our handy gardening tool kit for kids and potting soil to start the project. Pour the potting soil in each pot and choose whatever plants you want to place around your fairy land. We decided to plant some tomatoes plants in one and use flowers seeds to plant around our fairy’s land in the other.
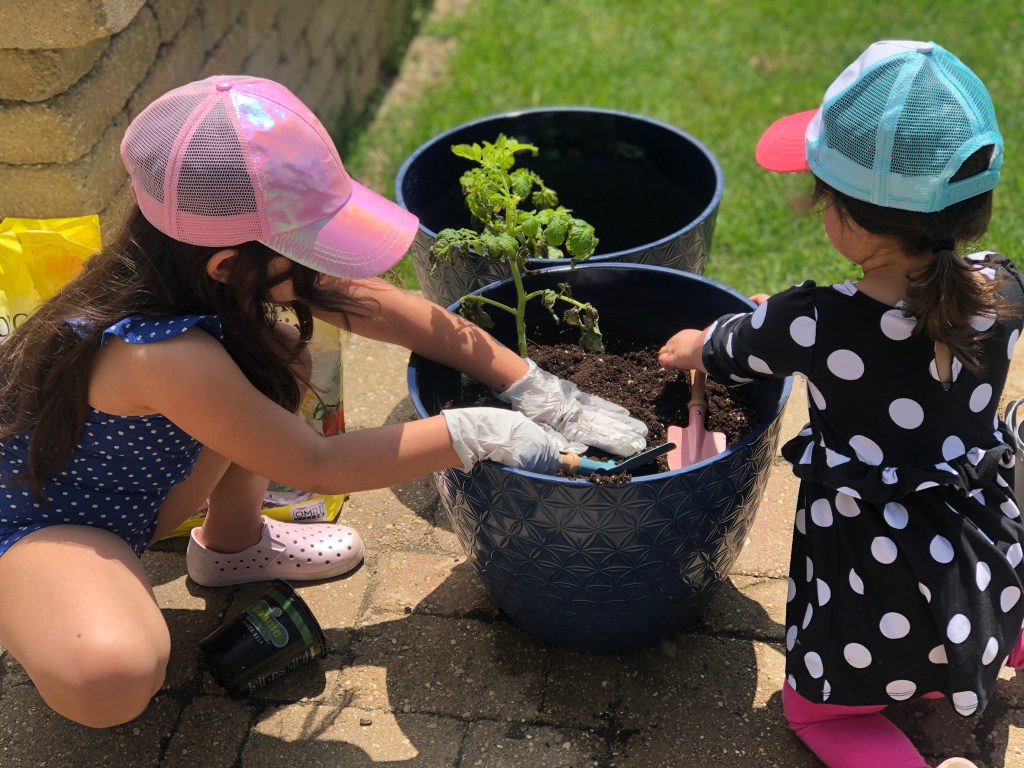
The kids absolutely love that they can be part of planting and gardening. They loved digging and placing their individual plants in and spreading the seeds in the other. The great part is learning about nature, chat with the kids about flowers and plants. How they grow and what they need to survive. Kids will take great pride in maintaining the garden over the summer, as much as they will enjoy playing with the fairies.
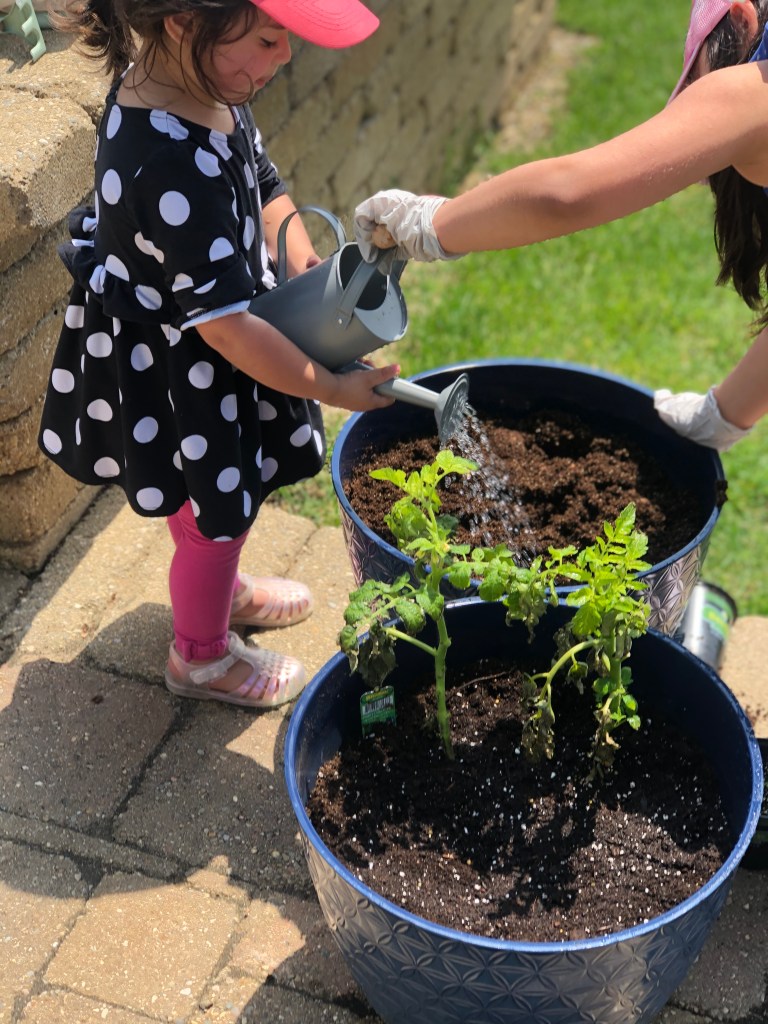
Now that we have our seeds and plants in, let’s water everything before starting the addition of the fairy accessories. It’s fun to give the younger kids a watering can and watch their excitement in caring for their personal garden.
Once the plants are potted and watered, we can gather all our fairy accessories. You can purchase a variety of fairy garden accessories from Amazon and I will link the ones we used below. But kids can also create their own fairy house by painting a bird house or finding things in nature. Things like twigs can make a bridge, pebbles to create a pathway, etc. Kids have the best imaginations and can come up with some great ideas!

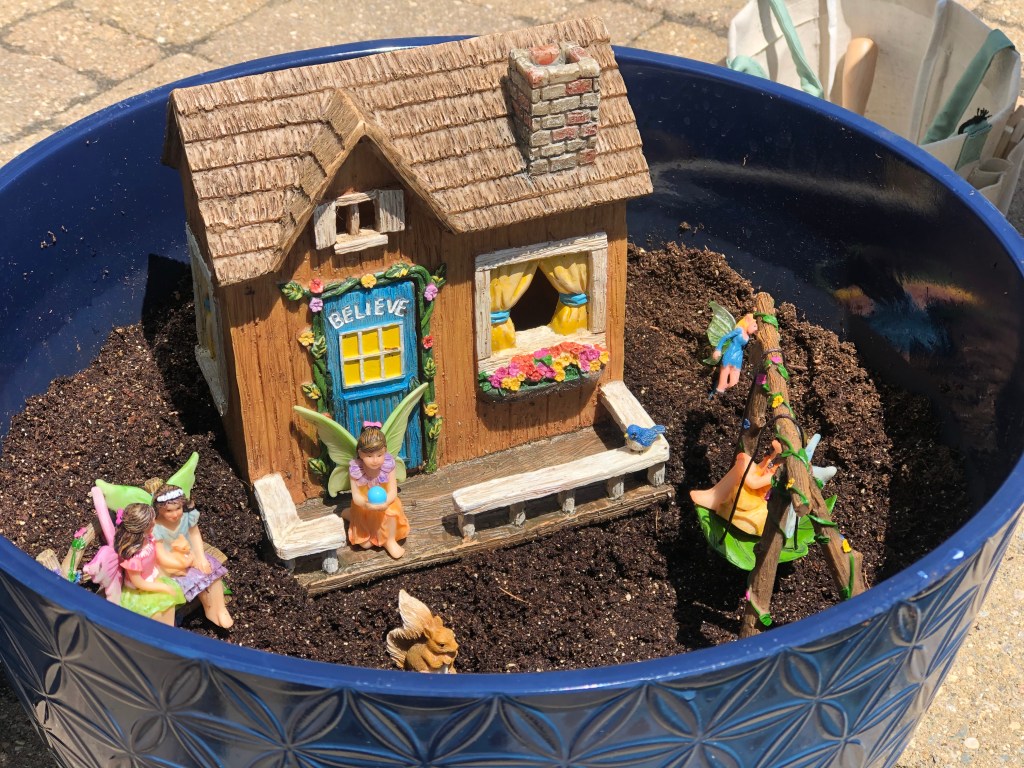
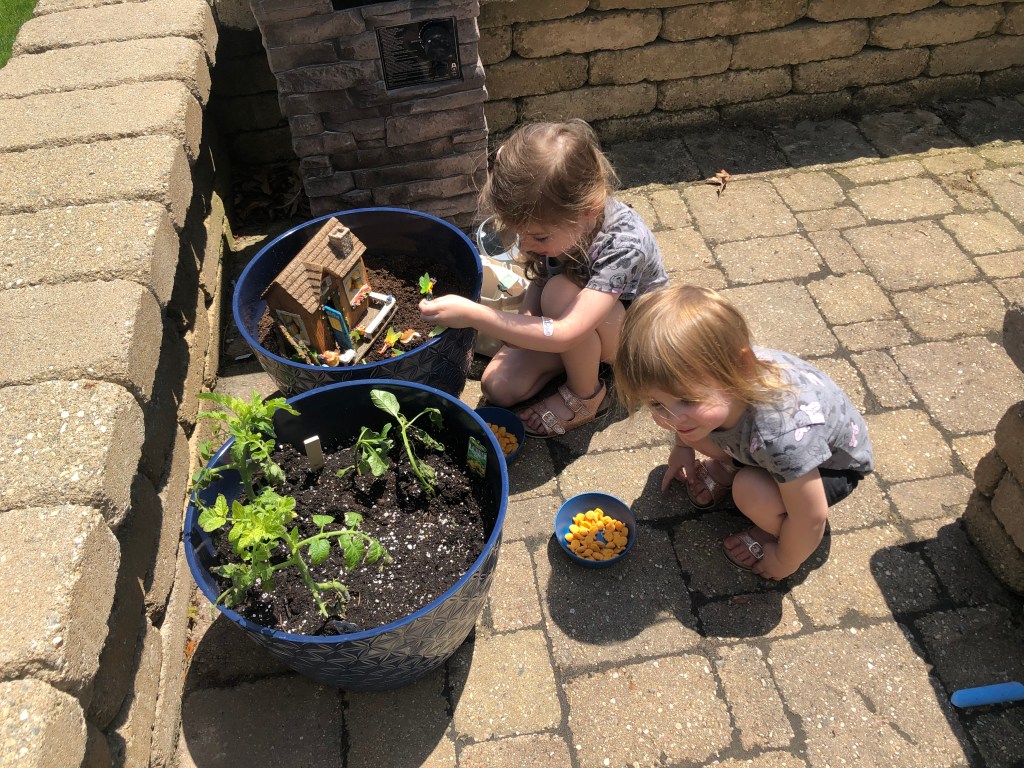
Now let’s place our accessories in the pots! This is where the fun begins for the kids! Let their ideas flow! We started by placing the house in and adding around it. We loved the Moodlab fairy home we purchased on Amazon. It came with two fairies to complete the set. We also ordered another set with a swing, bench, fairies and a squirrel friend. Since these fairies were more fragile and can be broken by our two year old, I also purchase a tube of plastic fairies to complete our set. I will put links for these at the end of this article. We love the home with the word “Believe” on its door! Just perfect! And the door can swing open for fairies to go inside.
Now that the garden is complete, we will continue to water and care for the soil to grow our flowers around.

But here’s the best part! It’s time to play and enjoy the fairy garden!! The kids enjoyed the day playing with their fairies in their new garden home! And don’t forget to invite friends over to join in on all the fun!

I hope this article was helpful and provided some insight on how to create a fairy garden with your kids! This is one project you can enjoy together all summer long. Many blessings to you and your family!
If you enjoyed this article, please comment and let us know and show us your fairy creations!
commissioned links


Please follow and join our Facebook group “Daily Deals for Moms” for amazing savings and deals on everything mom life, giveaways, promos, lots of fun! Join our awesome mom community! https://www.facebook.com/groups/235419021038032/?ref=share
